Floor Plans help you get a clear view of how people move through your space and where activity is concentrated.
Before getting started, you'll need:
- A site with the zones and passages already setup
- An image with the plan of your floor, zone or building. PNGs, JPEGs and SVGs are supported.
Need a professionally drawn floor plan? Contact your Techins representative to help you get started.
Uploading a floor plan
1. Go to Settings > Sites > select the site for which you want to add a floor plan
2. In the zone tree, select the zone for which you want to upload a floor plan.
3. Click on + next to the Floor plan section and upload your image.
4. In the sidebar, click on + next to Zones section and select a zone from the list
5. Click on the map to draw the walls of the zone. Click at the starting point to close the zone.
6. Repeat steps 4 and 5 for any zone or passage that you want to indicate on the plan
7. For passage, rotate the arrow in the direction in the natural "forward" direction at which visitors will move.
8. Save your plan
Once saved you can edit the placement of the zones or passages, or upload a new version of the image.
Adding a floor plan to a report
To visualize data on using your floor plan, create a new custom report and add a Floor plan visualization.
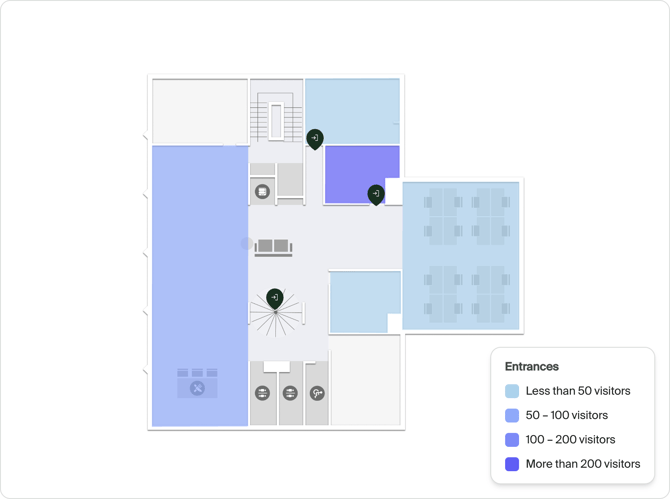
Keep your floor plan clean and simple. Avoid decorative elements that make data overlays harder to read.